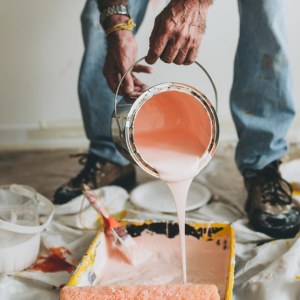
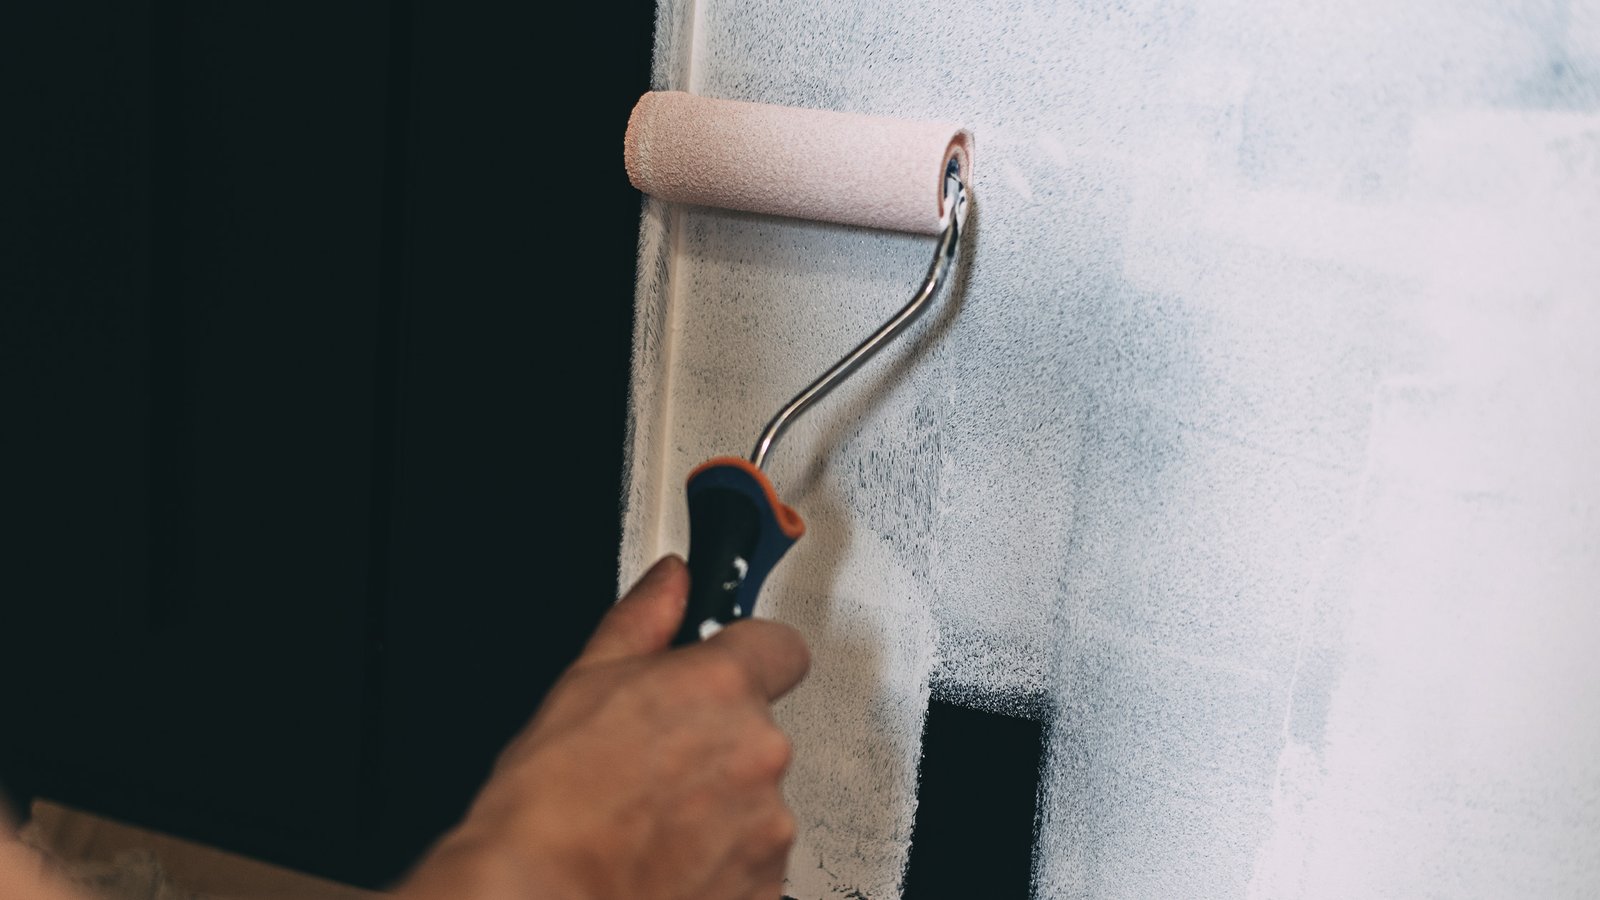
How to Paint Over Dark Walls: Why You Need a Professional for a Flawless Finish. We have all been there. You walk into a room, look at that deep navy blue accent wall or the dark burgundy dining room, and decide it is time for a change. You want something light, airy, and modern to brighten up the house. However, making that transition is notoriously difficult. If you try to tackle this on a Saturday morning with just a single gallon of off-white paint and a lot of optimism, you are in for a highly frustrating weekend.
The Real Challenge of Painting Over Dark Colors
When it comes to changing the mood of a room, painting over dark colors requires a lot more than just a roller and a standard paint tray. For instance, covering red paint is practically a rite of passage for homeowners in our area, and it is easily one of the toughest jobs to pull off. Red and dark blue pigments are incredibly strong and saturated. Consequently, if you just apply a light topcoat directly over them, the old color will bleed right through, creating a muddy, uneven mess. Therefore, understanding exactly how to cover dark paint properly is essential if you want to avoid applying four or five coats of expensive finish paint.
The Science of a Flawless Color Transition
Transitioning from dark to light is essentially a chemistry and surface preparation game. Experienced professional interior painters MA understand that a successful color change relies on a very specific sequence of events. Here is exactly what the process actually demands:
Proper Sanding and Surface Prep
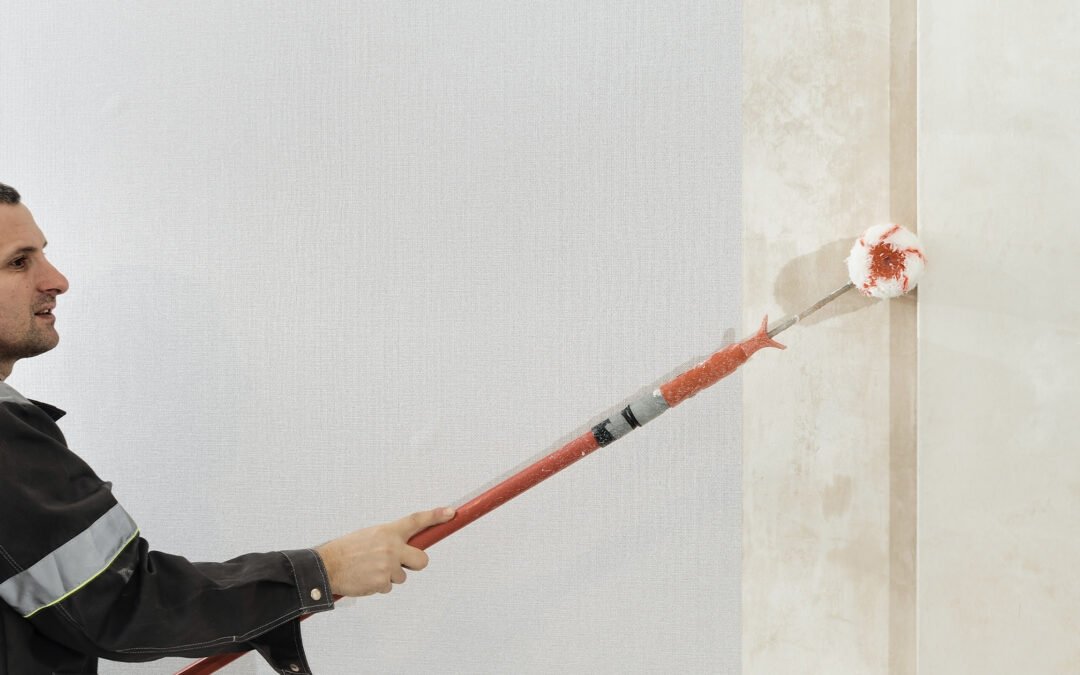
First and foremost, dark paints often have a higher sheen, like an eggshell or satin finish, to make the deep colors pop. Because of this slick surface, new paint will struggle to adhere properly. We always start by thoroughly scuff-sanding the walls. As a result, this process breaks the old gloss and creates a necessary "tooth" for the next layer of primer to grip onto securely.
Choosing the Right Primer for Dark Walls
After the walls are prepped and cleaned, the most critical step begins. You cannot just use any leftover primer you happen to find in your basement. Specifically, you need a high-hide primer for dark walls. In many cases, we actually use a tinted primer—usually a specific shade of gray—because it neutralizes and blocks the underlying dark pigments much better than a standard bright white primer ever could. Ultimately, this creates a perfectly neutral baseline so your new, lighter color can show its true, intended tone.
Respecting Drying Times
Furthermore, chemical curing simply takes time. If you rush the recoat window, the moisture from the second coat will re-activate the first coat. Consequently, the paint will pull away from the wall as you roll, leaving awful streaks and thick patches that have to be sanded down all over again.
Why the DIY Route Usually Costs You More
Many homeowners genuinely think they are saving money by doing it themselves. However, the harsh reality of covering dark walls usually hits halfway through the project. When you try to skip the professional steps, you often end up spending significantly more. Consider what actually happens when a DIY dark-to-light project goes wrong:
- Wasted Premium Paint: You end up buying three or four gallons of expensive, top-tier paint just to hide the old color, whereas a pro would use a much more cost-effective, dedicated high-hide primer first.
- Extra Supplies: You make multiple frustrating trips to the hardware store for different rollers, thicker nap covers, and extra tape because your first attempt looked incredibly streaky.
- Lost Time: What was supposed to be a quick weekend project drags on for two weeks, leaving your living room or kitchen in total chaos.
- Subpar Results: Despite all the extra money and effort, you might still see flashing—uneven patches of sheen—or shadows of the old dark color when the afternoon sunlight hits the wall.
Get It Done Right the First Time
At the end of the day, making a drastic color change requires heavy lifting, technical knowledge, and the right materials. Instead of spending your free time buying endless gallons of paint trying to fix bleed-through, you should rely on experienced experts. By bringing in a seasoned crew, you ensure the right chemical primers and techniques are used from day one, which actually keeps your material costs under control and protects your walls.
Do not waste time and money fighting with dark, stubborn walls. Let Costa Painting step in and handle the preparation, priming, and finishing. Contact us today for your estimate, and let’s give your space the bright, flawless update it needs without the DIY headache.